Using BlurHash in Ionic
BlurHash is a compact representation for image placeholders developed by Wolt. Implementations are available for many languages. Since TypeScript is one of them, it's easy to use in an Ionic application as well.
The instructions for the TypeScript implementation bring you a long way.
First, you need to install the library
npm i blurhash
Next, you implement the code for decoding the BlurHash value into a placeholder image:
private decodeBlurHash() {
  if (this.canvas && this.blurHash) {
    const context = this.canvas.nativeElement.getContext('2d');
    const imageData = context.createImageData(this.canvasWidth, this.canvasHeight);
    const pixels = decode(this.blurHash, this.canvasWidth, this.canvasHeight);
    imageData.data.set(pixels);
    context.putImageData(imageData, 0, 0);
  }
}
I've created a component for images with BlurHash placeholders so that's where the members used in the code above are declared:
export class BlurhashComponent implements AfterViewInit {

  private blurHashValue: string;
  @Input()
  get blurHash(): string {
    return this.blurHashValue;
  }
  set blurHash(value: string) {
    this.blurHashValue = value;
    this.decodeBlurHash();
  }

  private imageSrcValue: string;
  @Input()
  get imageSrc(): string {
    return this.imageSrcValue;
  }
  set imageSrc(value: string) {
    this.imageSrcValue = value;
  }

  @Input()
  public imageSrc: string;

  public imageLoaded = false;

  @ViewChild('canvas', {static: true})
  private canvas: ElementRef<HTMLCanvasElement>;

  public canvasWidth = 32;
  public canvasHeight = 32;

  public ngAfterViewInit(): void {
    this.decodeBlurHash();
  }

  // ...
}
The template consists of a canvas element for the placeholder and the img element for the final image:
<canvas #canvas [width]="canvasWidth" [height]="canvasHeight"></canvas>
<img [src]="imageSrc" (load)="imageLoaded = true"
     [ngClass]="{'img-loaded': imageLoaded}">
The canvas element has a fixed small size as recommended and is expanded as necessary using CSS to ensure that its size matches the size of the img element:
:host {
    display: block;
    position: relative;
}

canvas {
    width: 100%;
    height: 100%;
    position: absolute;
}

img {
    opacity: 0;
    width: 100%;
    height: 100%;
    position: absolute;
}
The load event on the img element is triggered when the image is loaded. In our case, it adds a CSS class to the element to make it visible through a simple transition animation:
.img-loaded {
    animation: popIn 0.4s both ease-in;
}

@keyframes popIn {
    0% {
        opacity: 0;
    }

    100% {
        opacity: 1;
    }
}
To use the component, only the BlurHash value and the image URL must be specified:
<app-blurhash blurHash="L[BO5qWra#j[pMoeoffkkEaxWXj@" [imageSrc]="imageSrc">
</app-blurhash>
Both of them will typically be sent to the client as a response to an API call. The BlurHash value will be generated from the image (or its thumbnail) in server-side code when images are imported into the system. For testing purposes, the encoder is also available on the BlurHash web site.
The correct size of the component must be ensured by applying CSS to it. This can be either fixed width and height or a fixed aspect ratio leaving the final size to the parent elements:
app-blurhash {
  width: 100%;
  padding-bottom: 75%
}
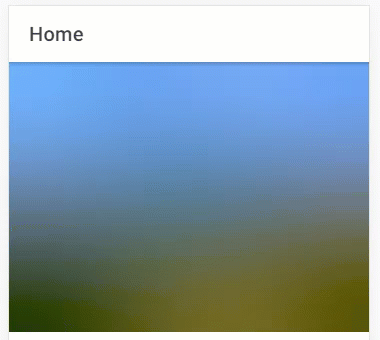
That's it. You can see the final result in the animation at the top of the blog post.
The full source code for the sample project is available in a Bitbucket repository.
This blog post is a part of a series of posts about animations in Ionic.
